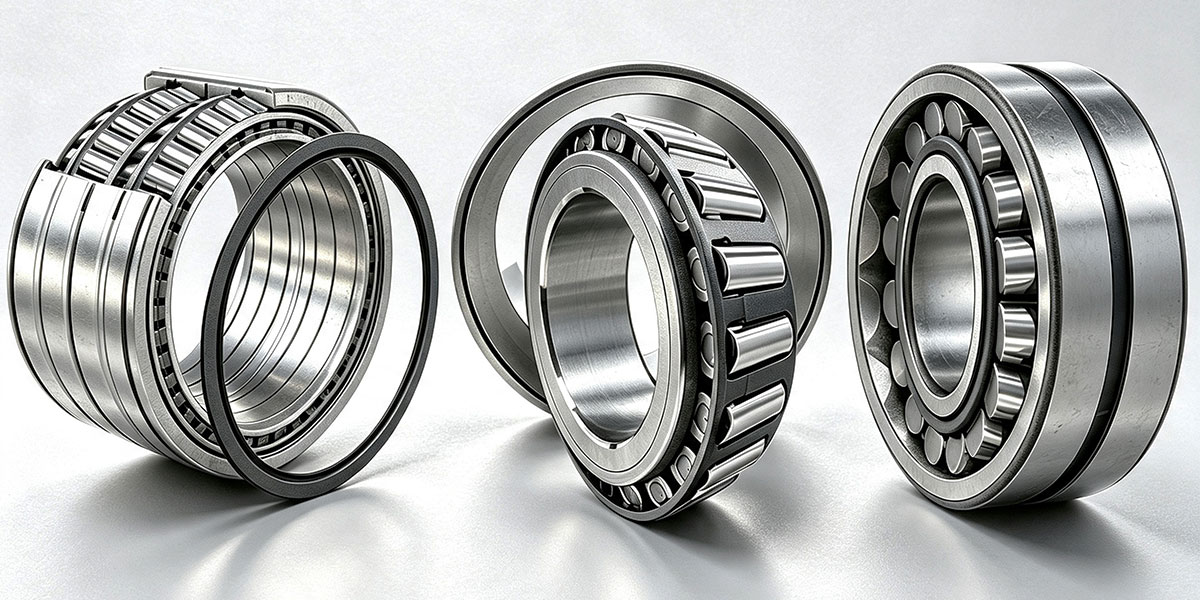
Proper bearing installation is essential for achieving reliable performance, smooth operation, and expected service life.
Even a high-quality bearing can fail prematurely if it is installed incorrectly. Common installation problems, including improper fits, incorrect mounting force, contamination, and misalignment, may cause vibration, overheating, noise, and reduced bearing life.
This guide explains bearing installation procedures, mounting methods, tools, and key practices to help ensure correct and reliable bearing operation.
1.Preparation Before Bearing Installation
Proper preparation helps prevent installation damage and improves bearing performance.
1.1 Check the Bearing Condition
Before installation, verify:
- Bearing model and dimensions
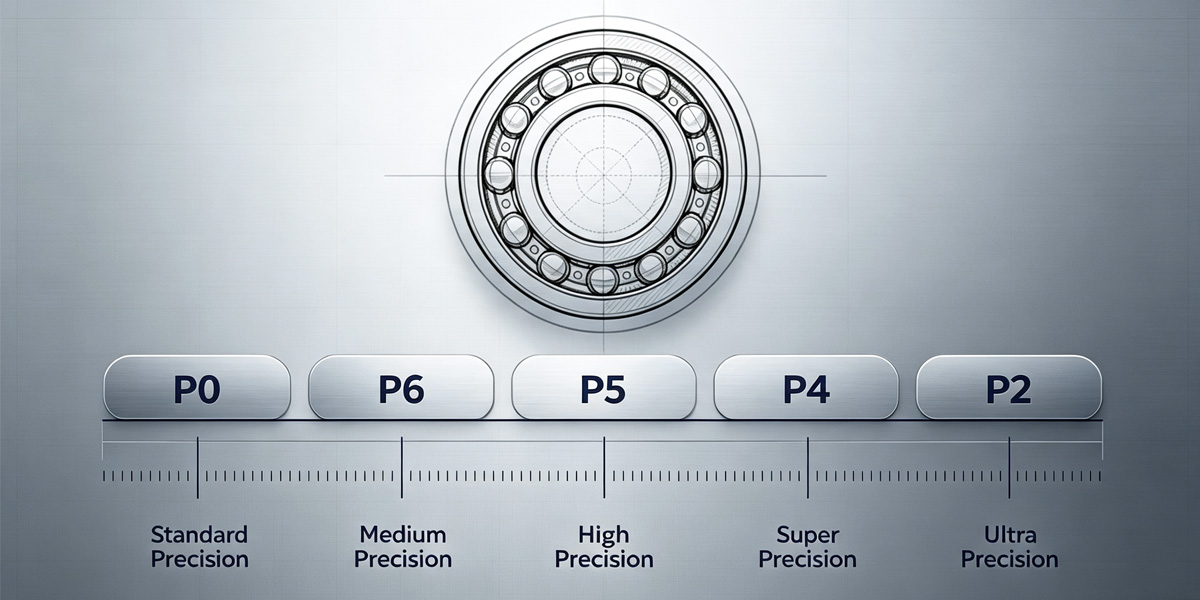
- Precision grade and internal clearance
- Seal or shield condition
- Surface condition
- Rotation smoothness
- Lubrication type
Do not install bearings with visible damage, rust, contamination, or abnormal rotation.
1.2 Handle Bearings Carefully
Bearings are precision components and should be handled properly before installation.
Recommended practices:
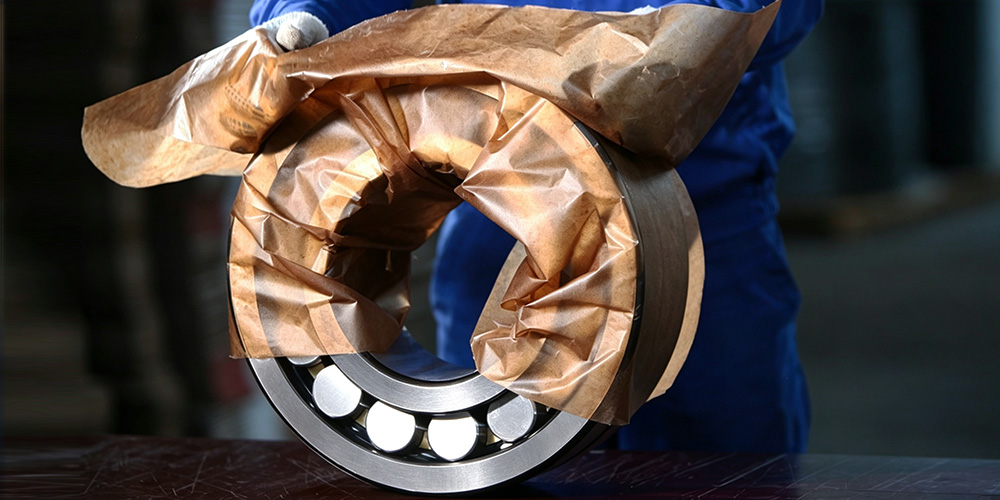
- Keep bearings in their original packaging until use
- Avoid touching raceways with dirty hands
- Protect bearings from dust, moisture, and foreign particles
- Use clean tools during installation
Even small contaminants can affect bearing performance and service life.
1.3 Clean Shaft and Housing
Before mounting, clean:
- Shaft surface
- Housing bore
- Bearing seats
- Installation tools
Remove:
- Dust
- Metal particles
- Rust
- Oil contamination
- Machining debris
Also check for burrs, scratches, or surface damage.
Poor mounting surface conditions may cause improper seating, vibration, and uneven loading.
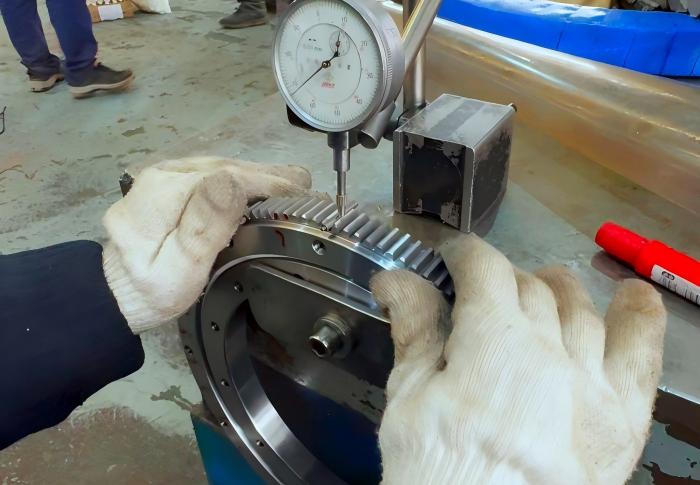
2. Check Bearing Fits Before Installation
Correct bearing fit is critical for reliable operation.
Fit selection depends on:
- Load direction
- Rotating load conditions
- Bearing type
- Speed
- Operating temperature
- Shaft and housing design
2.1 Inner Ring Rotating Load
When the inner ring is subjected to a rotating load, an interference fit between the inner ring and shaft is commonly required to prevent creep.
2.2 Outer Ring Rotating Load
When the outer ring is subjected to a rotating load, an interference fit between the outer ring and housing is usually required.
Incorrect fits may cause:
Loose fit:
- Ring creep
- Fretting corrosion
- Wear
Excessive interference fit:
- Increased preload
- Higher operating temperature
- Reduced bearing life
3. Bearing Installation Methods
Different applications require different mounting methods.
3.1 Press Fit Installation
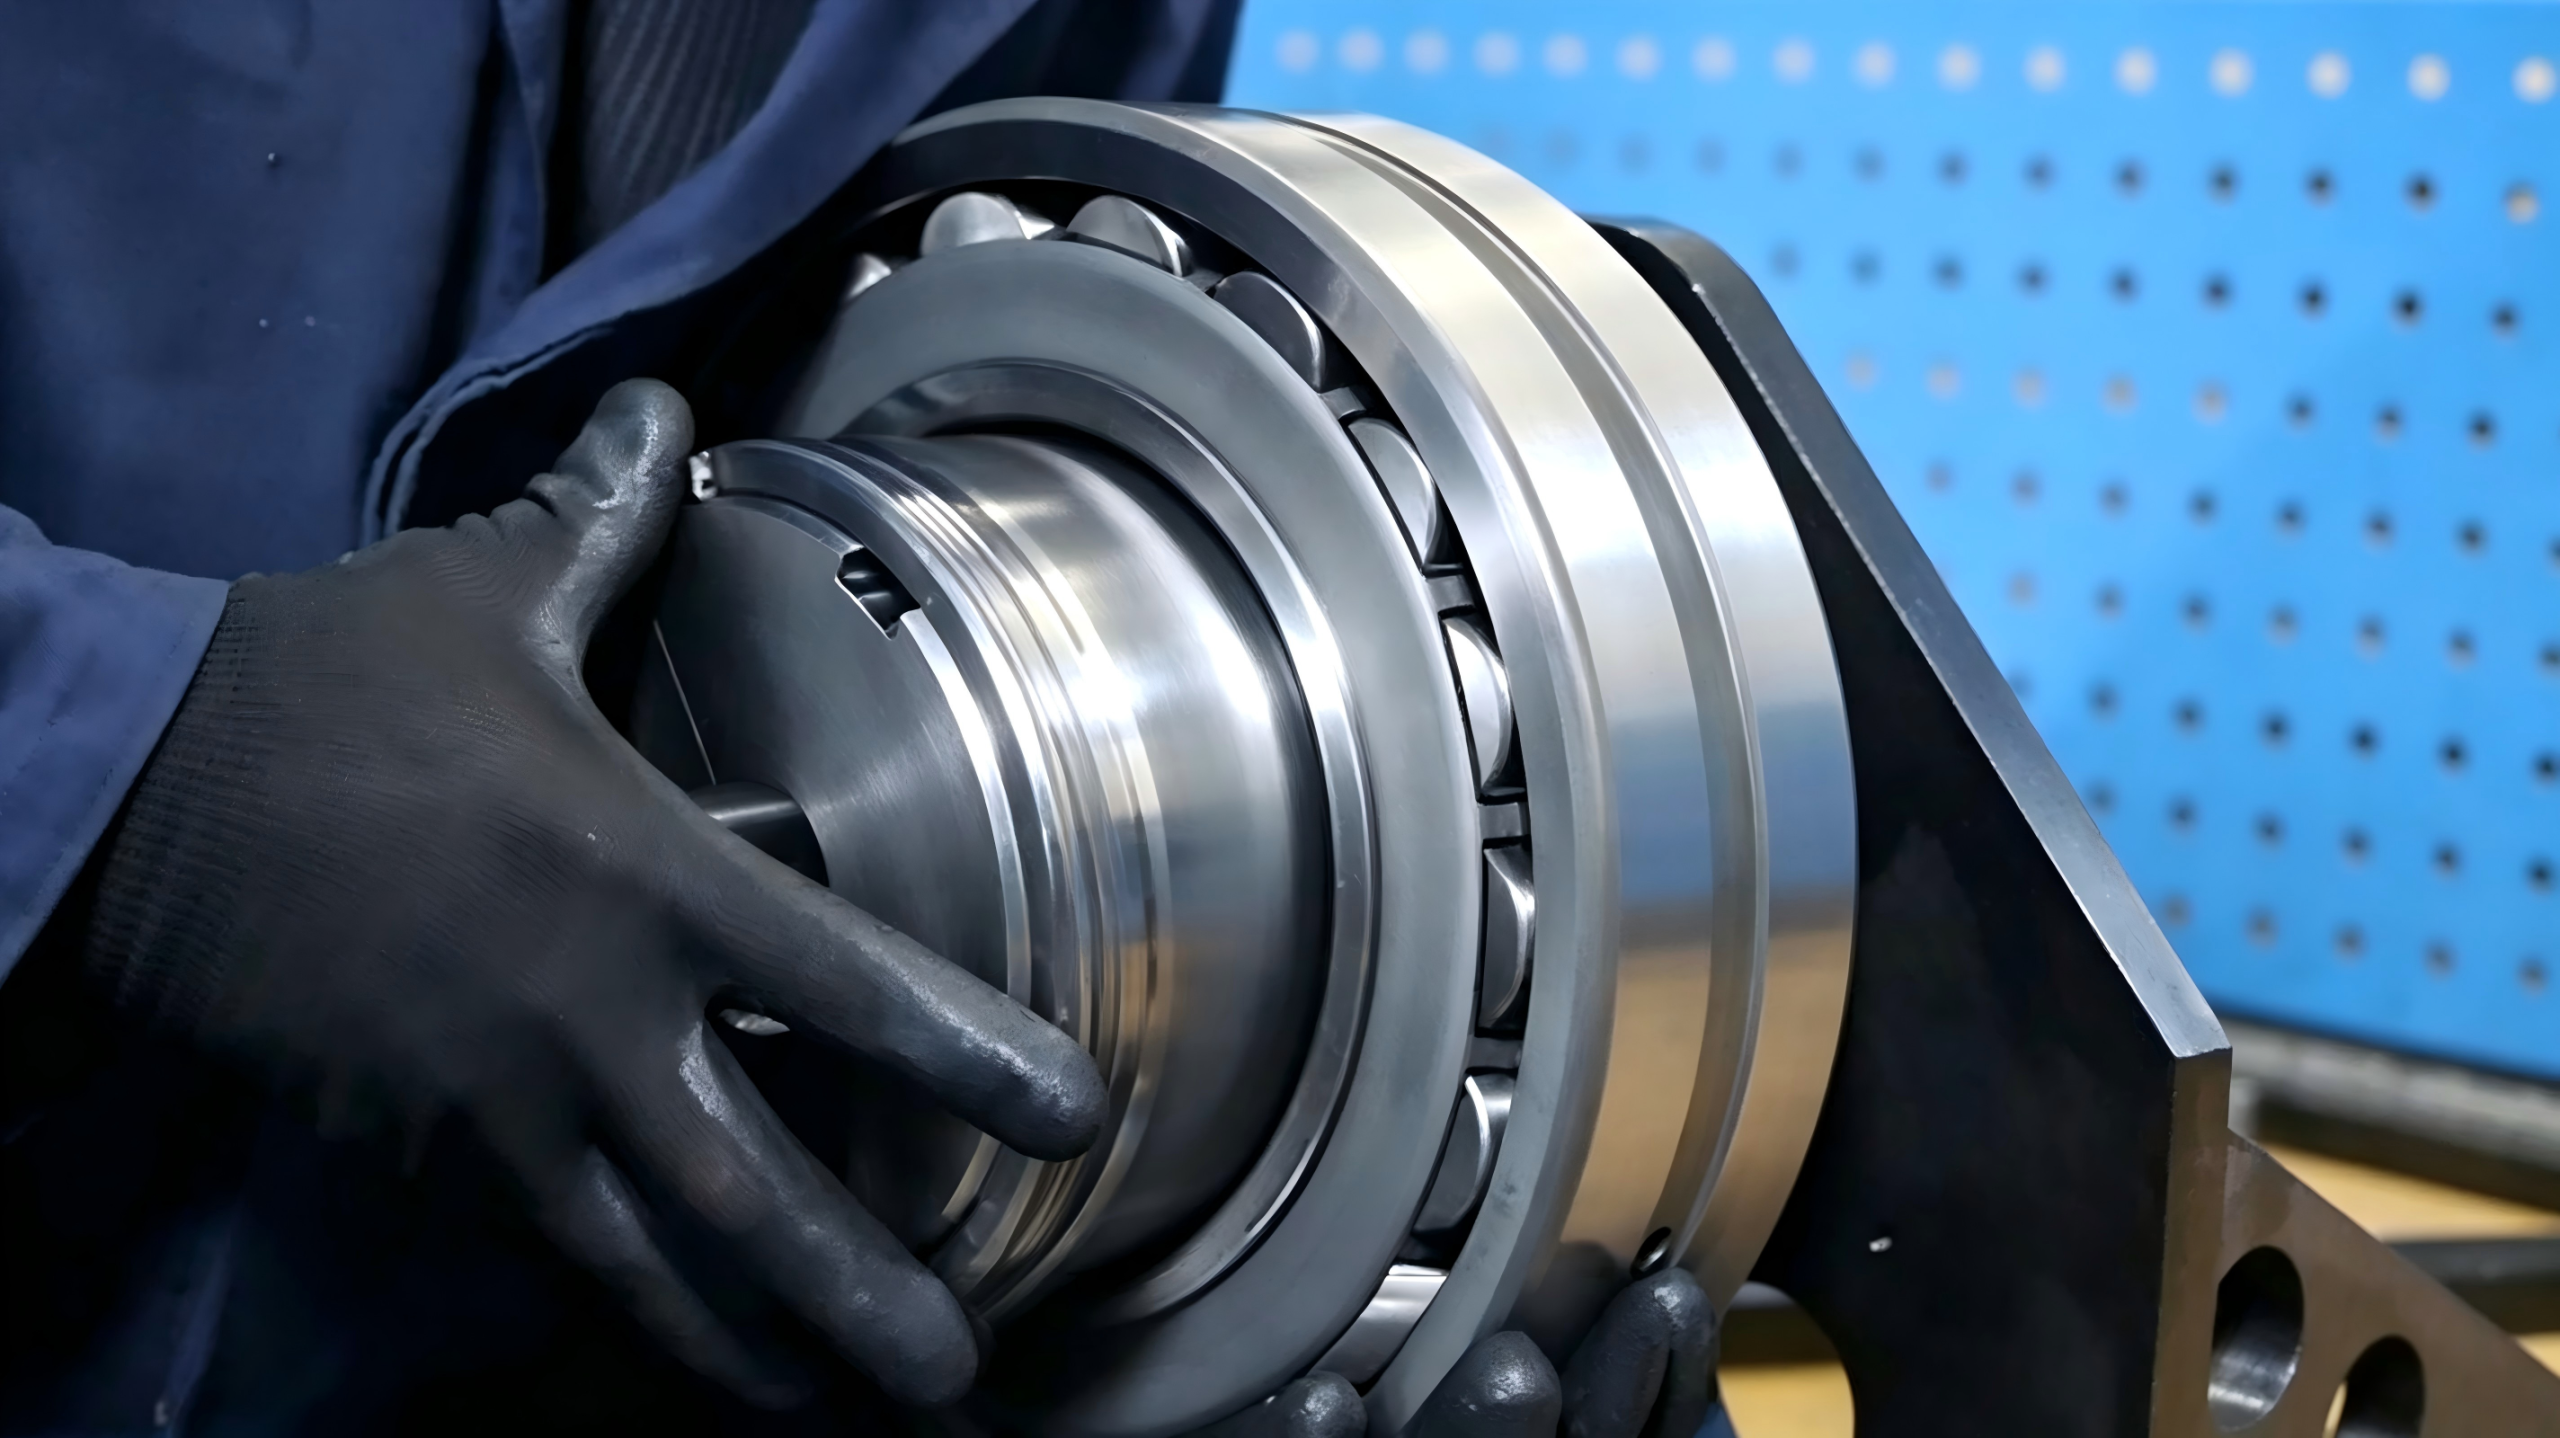
Press fitting is commonly used for small and medium-sized bearings.
Mounting Bearing on a Shaft
Apply installation force only to the inner ring.
Mounting Bearing into a Housing
Apply installation force only to the outer ring.
Never transfer installation force through rolling elements, as this may damage raceways and create permanent indentations.
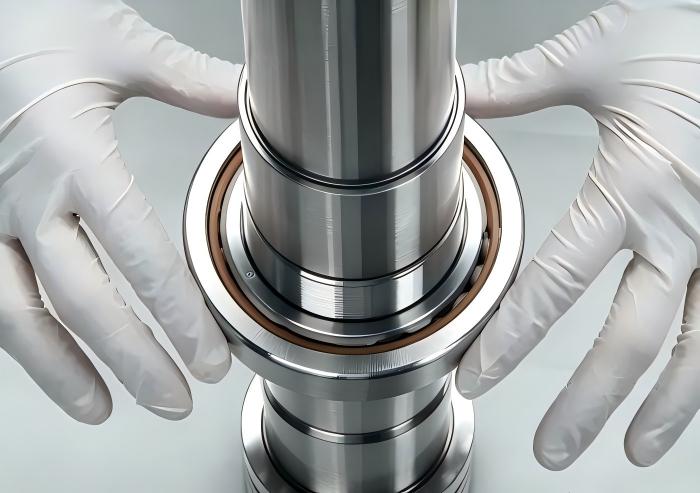
3.2 Heat Installation (Shrink Fit)
For bearings with interference fits, heating can simplify installation by expanding the bearing ring.
Typical process:
- Heat the bearing evenly
- Install it quickly onto the shaft or housing
- Allow the bearing to cool and achieve the required fit
For standard steel bearings, heating temperatures around 80–100°C are commonly used.
Always follow manufacturer recommendations, especially for:
- Sealed bearings
- High-precision bearings
- Special lubricated bearings
Avoid:
- Open flame heating
- Uneven heating
- Excessive temperatures
Excessive heat may affect seals, lubricants, and bearing performance.
3.3 Cold Installation
Cold installation is mainly used in special applications where controlled shrink fitting is required.
Cooling methods should be carefully controlled to avoid:
- Condensation
- Corrosion
- Incorrect fitting
4. Bearing Installation Tools
Using the correct tools helps prevent bearing damage.
Common tools include:
- Bearing mounting kits
- Mechanical presses
- Hydraulic presses
- Induction heaters
- Pullers
- Torque tools
- Measuring instruments
Avoid:
❌ Direct hammering on bearing rings
❌ Improper installation tools
❌ Excessive impact force
Incorrect tools may damage:
- Raceways
- Rolling elements
- Cages
- Seals
5. Step-by-Step Bearing Installation Process
Step 1: Confirm Bearing Specifications
Verify:
- Bearing model
- Dimensions
- Clearance
- Precision grade
- Lubrication requirements
Example:
6208-2RS/C3 and 6208-2Z/C3 have different sealing structures and operating conditions.
Step 2: Prepare Installation Surfaces
Ensure:
- Shaft is clean
- Housing bore is clean
- Mounting surfaces are free from damage
- Tools are suitable for installation
Step 3: Apply Correct Mounting Force
Always apply force to the bearing ring being fitted.
Examples:
- Shaft interference fit → apply force to inner ring
- Housing interference fit → apply force to outer ring
Do not push force through rolling elements.
Step 4: Check Bearing Orientation
Some bearings require correct installation direction.
Angular Contact Ball Bearings
The contact angle direction must match the designed arrangement.
Tapered Roller Bearings
The inner and outer rings must be installed according to the specified assembly arrangement.
Incorrect orientation may cause:
- Excessive preload
- Increased friction
- Premature failure
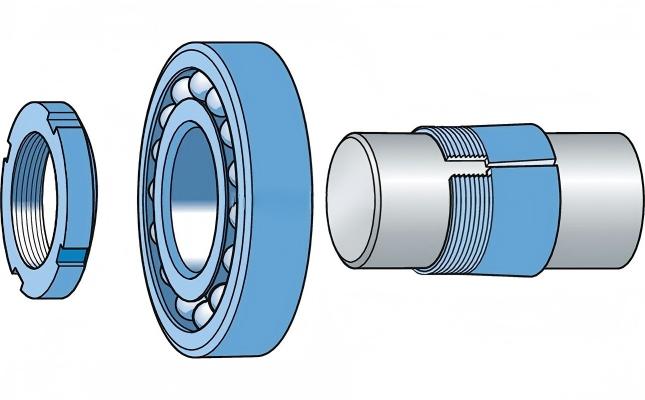
Step 5: Secure the Bearing Properly
After installation, ensure the bearing is correctly fixed using suitable methods, such as:
- Lock nuts
- Snap rings
- Retaining plates
- Adapter sleeves
Incorrect fixing may allow axial movement and affect operating stability.
Step 6: Check Alignment and Lubrication
After installation:
- Rotate the bearing or assembly when applicable
- Check for abnormal resistance
- Confirm smooth operation
- Verify proper seating
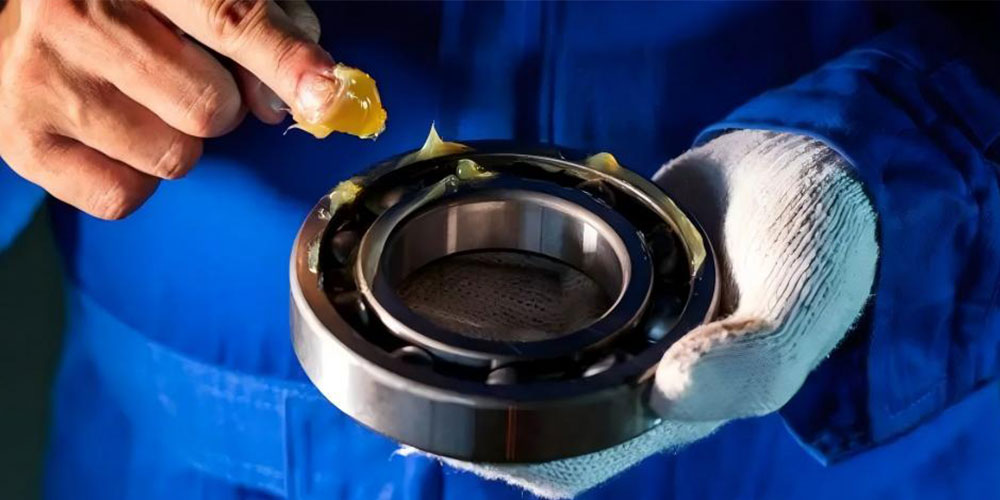
Apply lubrication according to equipment requirements.
Sealed Bearings
Pre-lubricated sealed bearings usually do not require additional grease.
Additional lubrication should only be applied if the bearing design allows it.
Open Bearings
Use the specified lubricant according to:
- Speed
- Load
- Temperature
- Operating conditions
Avoid over-lubrication, as excessive grease may increase operating temperature.
6. Post-Installation Inspection
After installation, perform final checks.
Check Clearance or Preload
For bearings requiring adjustment, verify:
- Operating clearance
- Preload value
- Axial movement
Especially for:
- Angular contact ball bearings
- Tapered roller bearings
Monitor Initial Operation
During startup, check:
- Temperature
- Vibration
- Noise
- Lubrication condition
Early detection of abnormal conditions helps prevent equipment failure.
7. Common Bearing Installation Mistakes
7.1 Applying Force to the Wrong Ring
Problem:
Mounting force passes through rolling elements.
Result:
- Raceway damage
- Noise
- Reduced service life
Solution:
Apply force only to the fitted bearing ring.
7.2 Installing Without Cleaning
Problem:
Contaminants enter the bearing.
Result:
- Surface damage
- Increased vibration
- Premature failure
Solution:
Maintain a clean installation environment.
7.3 Incorrect Bearing Fit
Problem:
Wrong shaft or housing fit.
Result:
- Creep
- Heat generation
- Reduced bearing life
Solution:
Select fits based on actual operating conditions.
8. Bearing Installation Checklist
| Inspection Item | Requirement |
|---|---|
| Bearing model | Correct |
| Bearing condition | No damage or contamination |
| Shaft size | Within tolerance |
| Housing bore | Within tolerance |
| Mounting surfaces | Clean and smooth |
| Installation force | Applied correctly |
| Bearing direction | Correct |
| Fixing method | Secure |
| Alignment | Verified |
| Rotation | Smooth |
| Lubrication | Correct type and amount |
9. Conclusion
Proper bearing installation is essential for achieving reliable operation, stable performance, and longer service life. Correct handling, suitable fits, proper mounting methods, accurate alignment, and regular inspection can significantly reduce the risk of premature bearing failure.
By following recommended installation practices, bearings can operate with lower friction, reduced vibration, improved efficiency, and enhanced equipment reliability.